Custom large format printing is a powerful tool that can effectively convey a message to your desired audience - for instance, if you’re selling a new product or service, leading a marketing campaign, or promoting your business’s ethos and mission. But when preparing images for print, it’s vital that you follow a few simple steps to ensure that the final version retains the quality and sharpness that you see on your computer screen.

Step 1: Optimise Images For Viewing Distance
When you're working on a large scale, the last thing you need is a pixelated, low-quality image that is difficult to see or looks unprofessional, so the first step is to optimise your image for the desired viewing distance. This means ensuring that the image is in the correct format, size, resolution, and dimensions. By matching the image to its intended viewing distance, you can guarantee a high-quality result: an image intended to be seen from a distance might have lower resolution requirements than one meant to be viewed up close.
Step 2: Calibrate Screens To Industry Standards
A crucial but often overlooked step is screen calibration. Calibrating your monitor to industry standards ensures that what you see on your screen in terms of contrast, colour, and brightness accurately represents what will be printed or displayed on other screens. It’s an essential step that helps to maintain consistency in your visual content, whether it's for large format prints or digital displays.
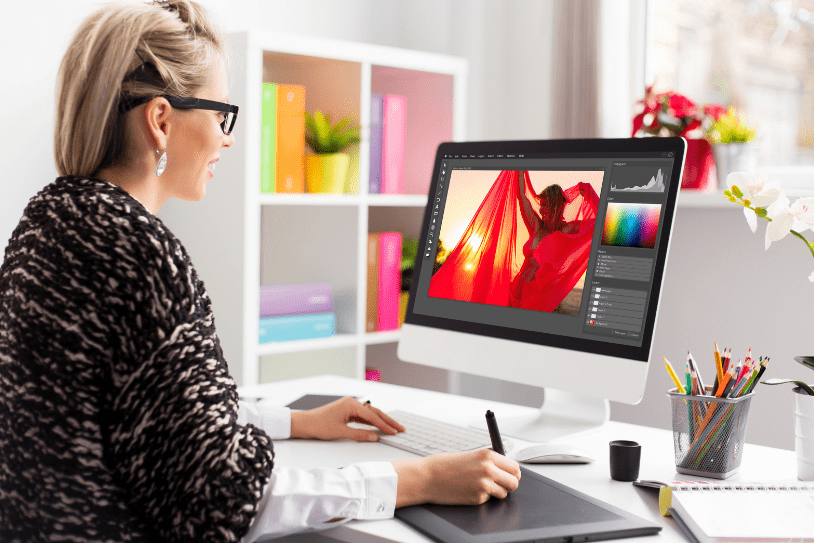
Step 3: Utilise Photoshop's Soft-Proofing Feature
Adobe Photoshop features an invaluable tool called soft-proofing which allows you to preview how your image will appear when printed. Soft-proofing helps to ensure that the on-screen appearance of your image closely matches how it will look when it's produced in a large format, thereby reducing the risk of disappointment when your image is printed and displayed. It also provides you with the opportunity to adjust images to resolve any potential printing issues before exporting the final files, as errors will result in waste, lost income, and reworks.
Step 4: Convert Fonts To Vectors
Typography plays an important role in the production of large format wall art and custom wall coverings so, if your design includes text, it's essential to convert the fonts to vectors. This step, which embeds the font outlines directly into the image rather than referencing a separate font file, is essential: if the printer doesn’t recognise the fonts you have used, it may automatically replace them with a default font that doesn’t match your vision. Converting fonts to vectors ensures that your text remains crisp and clear at any size.
Step 5: Save The File Appropriately
Finally, before sending your file to the printer, you must save it in the right format, either EPS (Encapsulated PostScript) or TIFF (Tagged Image File Format) which maintain the highest quality and ensure compatibility with professional printers. It's also good practice to save an editable copy of your design so, if needed, you can make adjustments. Additionally, check your printer's specifications for any specific requirements they might have regarding file formats and resolutions.
Contact MTA Digital For Professional Large Format printing advice
To find out more about how to prepare images for large format printing, please download our free beginners’ guide to large format print and wall coverings, or call our helpful team on 0020 8461 9100.

Image source: Canva
